How to Decorate a Nursery or Kids Room with Printable Wall Art (Complete Guide)
Decorating a nursery or children's bedroom is one of the most exciting — and most expensive — parts of preparing for a new baby or refreshing a child's room. Professional nursery wall art sets can cost $50-$200+ for a simple 3-piece collection.
Printable wall art changes everything. For a fraction of the price, you can create a stunning, personalized, gallery-quality space.
Why Printable Wall Art is the Smart Choice for Nurseries
- Instant access — download immediately after purchase, no shipping wait
- Cost-effective — one digital file, unlimited prints
- Customizable — print at any size to fit your existing frames
- Changeable — swap art as your child grows, without buying new pieces
- Eco-friendly — no manufacturing waste, print only what you need
5 Steps to Create a Beautiful Kids Room Gallery Wall with Printables
Step 1: Choose Your Theme
Decide on a color palette and theme before downloading. Popular nursery themes include: - Watercolor animals — soft, dreamlike aesthetic perfect for newborn rooms - Educational alphabet art — colorful letter prints that grow with toddlers - Adventure & exploration — maps, stars, hot air balloons for curious little minds - Character-based — beloved characters from books and media
Step 2: Select Complementary Frames
Consistent frames create a cohesive, designer look. Choose: - All white frames for a clean, Scandinavian nursery aesthetic - Natural wood frames for a warm, boho nursery feel - Black frames for a modern, bold statement wall
IKEA's RIBBA frames are a popular choice — they accept both 8x10 and 5x7 prints with a mat.
Step 3: Print at the Right Quality
For nursery wall art, quality matters. Tips: - Use premium matte photo paper (200-250gsm) for rich colors - Set your printer to highest quality / photo mode - Print a test page at 4x6 first to check colors before committing to full size
Step 4: Plan Your Gallery Layout
Before hanging, lay frames on the floor to experiment with arrangements: - Symmetrical grid — clean and orderly, great for modern nurseries - Organic cluster — relaxed arrangement, works with boho and eclectic styles - Single statement piece — one large 16x20 print as a focal point
Step 5: Hang and Style
Use a level and painter's tape to plan positions before putting holes in the wall. Hang the central piece first and work outward.
Ideas for Every Room in the House
- Nursery — soft watercolor animals, alphabet prints, dreamy sky art
- Playroom — colorful character prints, activity-themed posters
- Kids' bedroom — favorite characters, motivational quotes, adventure maps
- Homework corner — educational charts, world maps, periodic table art
- Hallway — a gallery wall with family-themed prints
Frequently Asked Questions
What size should I print nursery wall art printables?
Most nursery printables work best at 8x10 inches or A4 size for standard frames. For a gallery wall, mix sizes: some 5x7, some 8x10, and one or two 11x14 statement pieces.
What paper is best for printing wall art at home?
Use premium matte photo paper (200-250gsm) for the best color reproduction and a professional gallery-quality finish. Glossy paper also works but can create glare under certain lighting.
Can I resize printable wall art files?
Yes! Most PDF wall art files can be scaled to any size when printing. For very large prints (16x20+), consider using a professional print shop for best quality.
Step-by-Step Nursery Wall Decor Installation
- Select Theme & Color Palette: Choose soft pastel or watercolor illustrations.
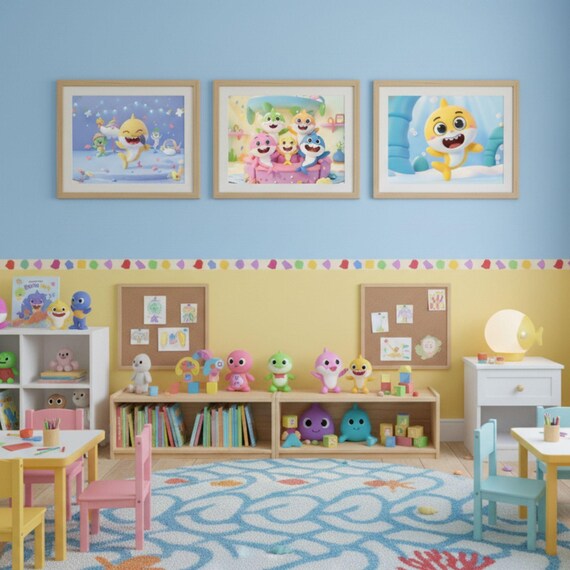
- Choose Matching Frames: Light oak or white wooden frames work best.
- Grid Layout: Arrange 3 to 6 framed prints in a balanced grid.
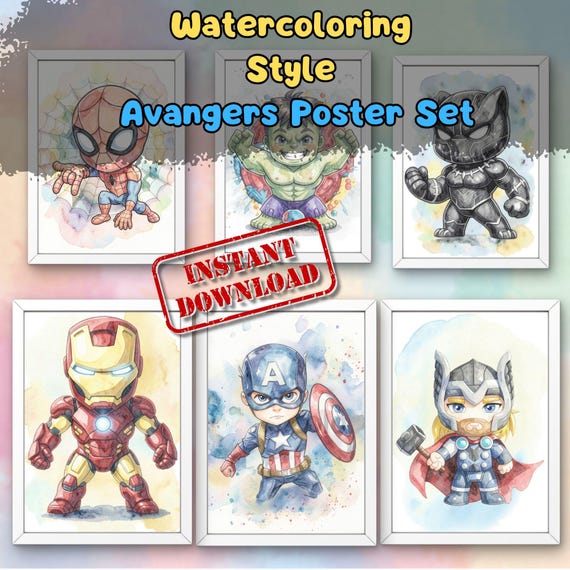
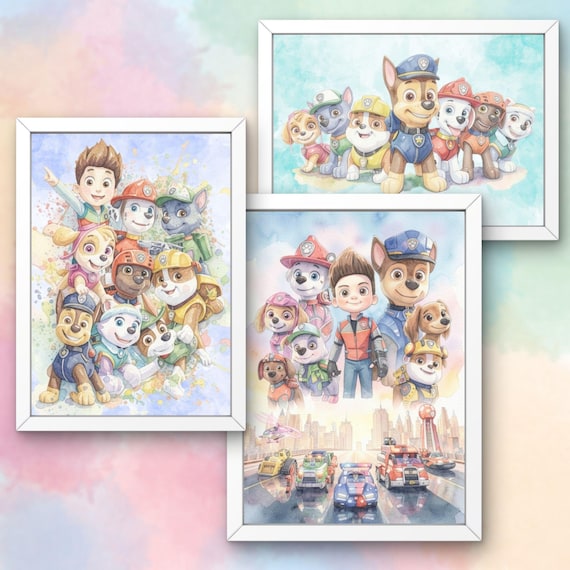
Featured printables: Avengers Watercolor Poster Set, Baby Shark Kawaii Art Print Set, Paw Patrol Watercolor Poster Set.
Detailed Step-by-Step Implementation Guide & Parent Recommendations
To help you get the most value out of these activities, we have structured a simple action plan you can follow at home or in the classroom:
1. Preparation & Supply Selection
Before starting any paper craft or wall art installation, gather all necessary materials in advance. Having supplies organized in accessible trays prevents interruption and allows children to focus fully on their creative process.
- Paper Quality: Always use 80lb to 110lb white cardstock for craft masks and 200gsm+ matte photo paper for framed wall art posters.
- Coloring Supplies: Offer a variety of media such as washable gel markers, beeswax crayons, and metallic pencils.
- Assembly Equipment: Keep blunt safety scissors, a 1/4-inch single hole puncher, and soft flat elastic band nearby.
2. Setting Up an Inviting Craft Workspace
Create a dedicated craft area at a kitchen table or floor mat. Lay down a clean, wipeable tablecloth to protect furniture surfaces. Place pre-printed templates in the center of the table so children can choose their preferred characters freely.
3. Combining Play with Storytelling & Movement
Once crafting is complete, encourage your children to use their creations in dramatic role-play. Acting out hero rescue scenarios, hosting a mini living room parade, or staging a family puppet show builds language skills, social empathy, and physical confidence.
4. Displaying & Preserving Finished Artwork
Celebrate your child's creative achievements by hanging finished posters or craft masks on a dedicated bedroom gallery wall or hallway display board. Seeing their artwork displayed prominently boosts self-esteem and pride in accomplishment.
Nursery Gallery Installation Steps
Select a cohesive theme (Avengers Watercolor Poster Set, Baby Shark Kawaii Art Print Set, Paw Patrol Watercolor Poster Set), frame prints in light oak, and hang at child eye-level (42 to 48 inches).